


The Mopeka LCD display is a practical alternative to smartphones and tablets. It can be connected to up to 2 Mopeka Pro devices.
Table of contents
Mopeka ProMopeka LCD Display
For which sensors?
Changing the battery
Fitting the mounting frame
Setting up the Mopeka LCD display
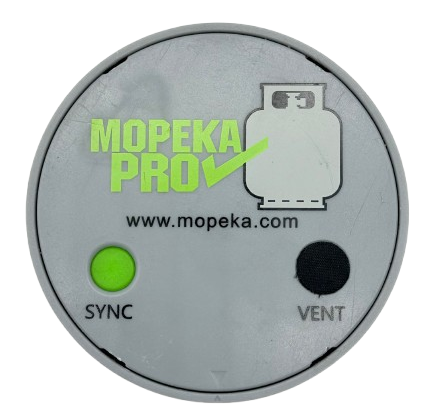
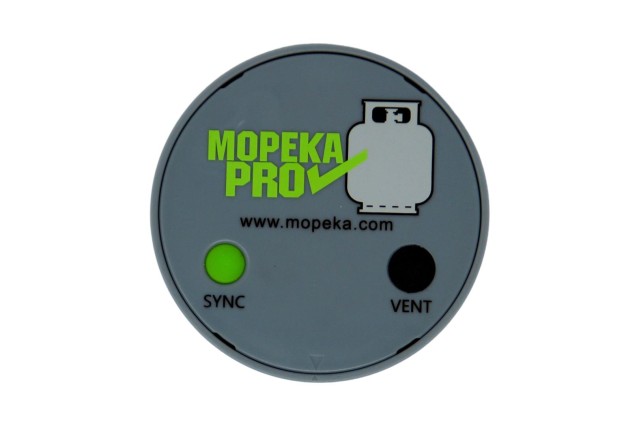
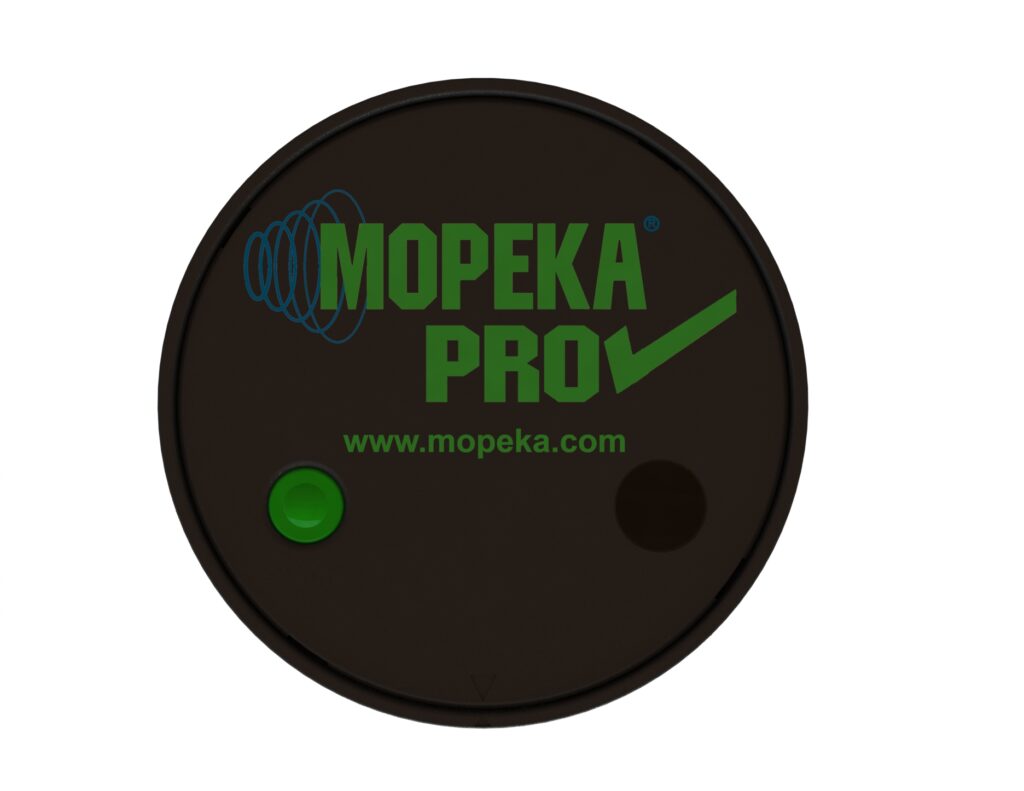
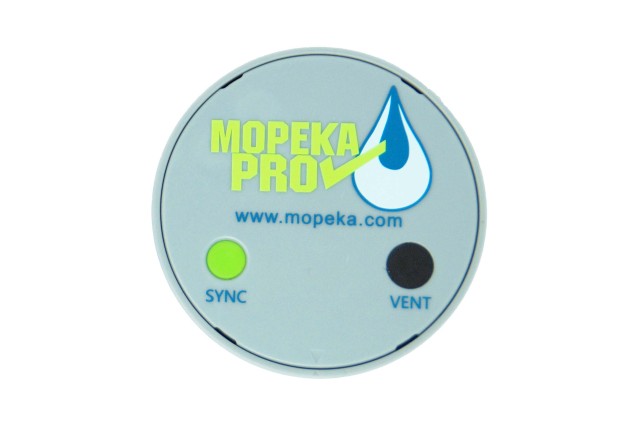
Mopeka Pro
The Mopeka Pro can be used to read the fill level of the gas bottle or the fill level of the water bottle. The small device measures the current fill level via ultrasound and transmits it to a smartphone, tablet or the Mopeka Monitor via Bluetooth.
For more information, read our articles on the Mopeka Pro – the 5 most important answers and What is the Mopeka Pro sensor?
Mopeka LCD Display
With the Mopeka LCD Display, up to two Mopeka sensors can be controlled via one device. They do not have to be the same sensors. The Mopeka sensors are available for different liquids such as water, oil or diesel, either universal or specially designed for propane gas or water.
Mopeka LCD display available for the following sensors
The display makes it easy to read the fill level of the container, which has a Mopeka sensor. A smartphone or tablet is no longer required, as everything can be set and read via the display. The display is mobile and can easily be taken along or installed. Thanks to the integrated magnets, the mounting frame can be installed in just a few minutes.
You can also find the article on the Mopeka Sensor operating instructions here.
The Mopeka LCD display is very robust and, thanks to its round design, is not only an eye-catcher but also less susceptible to damage if it is dropped, for example.
Changing the battery
The integrated batteries have a service life of up to 5 years and are very easy to replace. To do this, remove the holding frame at the back and loosen the 2 screws. The cover can now be removed and the battery replaced. This requires 4x CR2032 batteries. The cover can then be refitted.
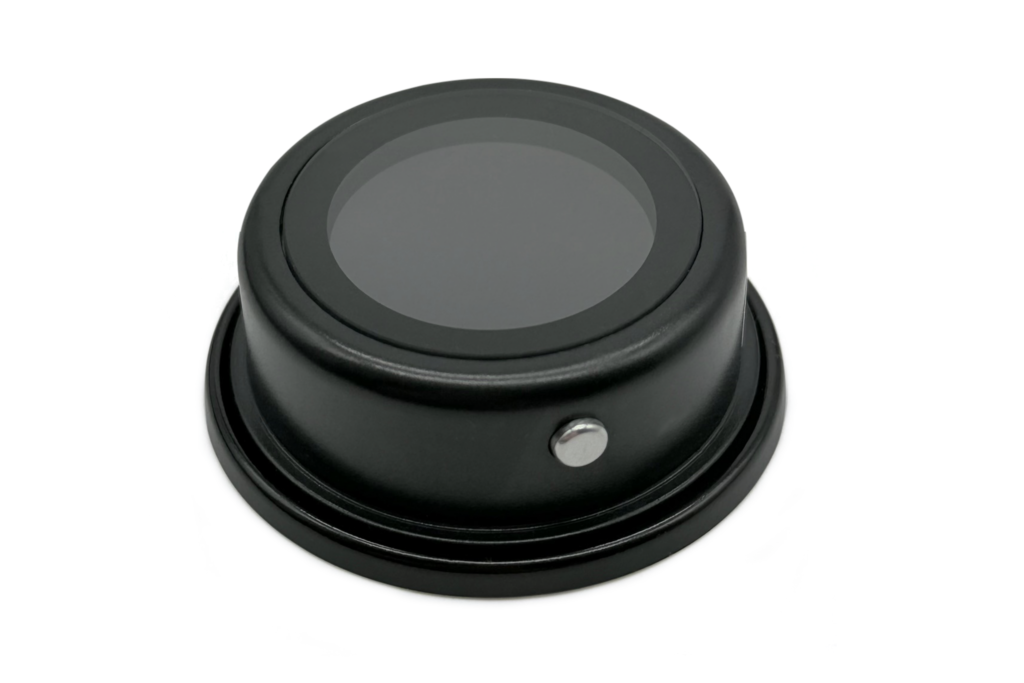
Important: The black, rubber-like element in the middle of the back must not be removed or damaged.
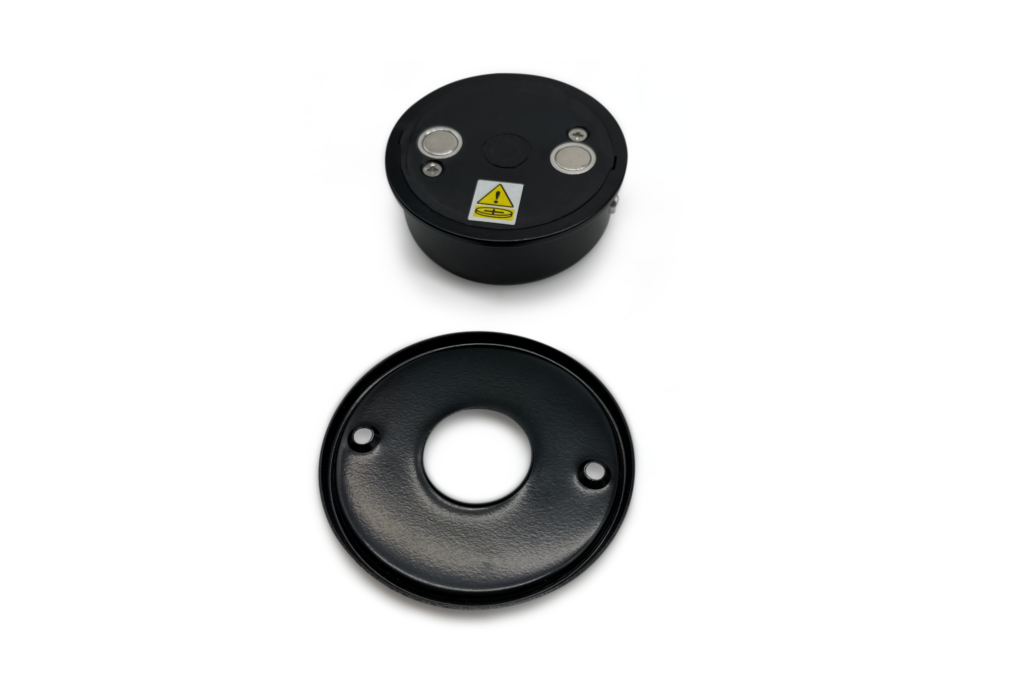
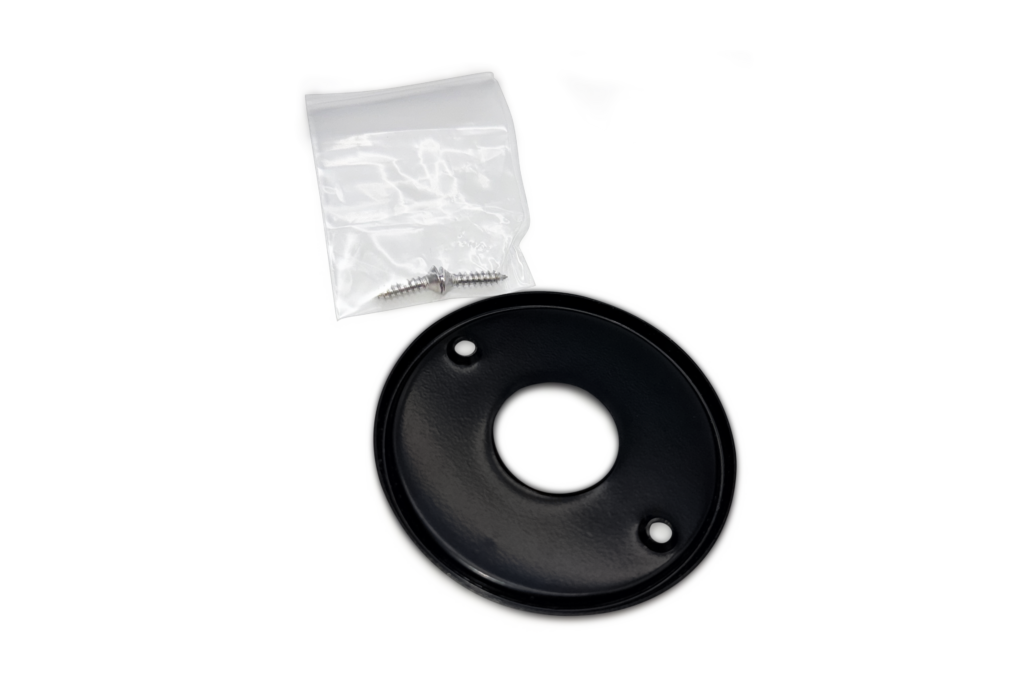
Fitting the holding frame
The LCD display consists of two components. The display and the mounting frame. The mounting frame can be easily removed from the display. It is highly magnetic.
The holding frame can now be easily attached to the desired position using 2 screws. The display is then docked back on.
Setting up the Mopeka LCD display
The display has 2 silver buttons on the left and right sides. The sides are always the same, as the display does not rotate automatically.
If you want to display the fill level of the left bottle, press the left button. If you want to display the fill level of the right-hand bottle, press the right-hand button. Please note that left and right refer to which bottle or which sensor has been assigned to the left or right button.
To switch on the appliance, press both buttons simultaneously.
There are various settings in the menu. These can be navigated through using the buttons. Use the right button to navigate clockwise. Use the left button to navigate counter-clockwise. If you want to select or confirm a menu item, press both buttons simultaneously .
Home screen
Below you will see two refillable gas cylinders symbolizing the connected sensors. If you connect two, it is advisable to name the two sensors „left“ and „right“ or „1“ and „2“, for example, so that it is always clear which sensor is connected where.
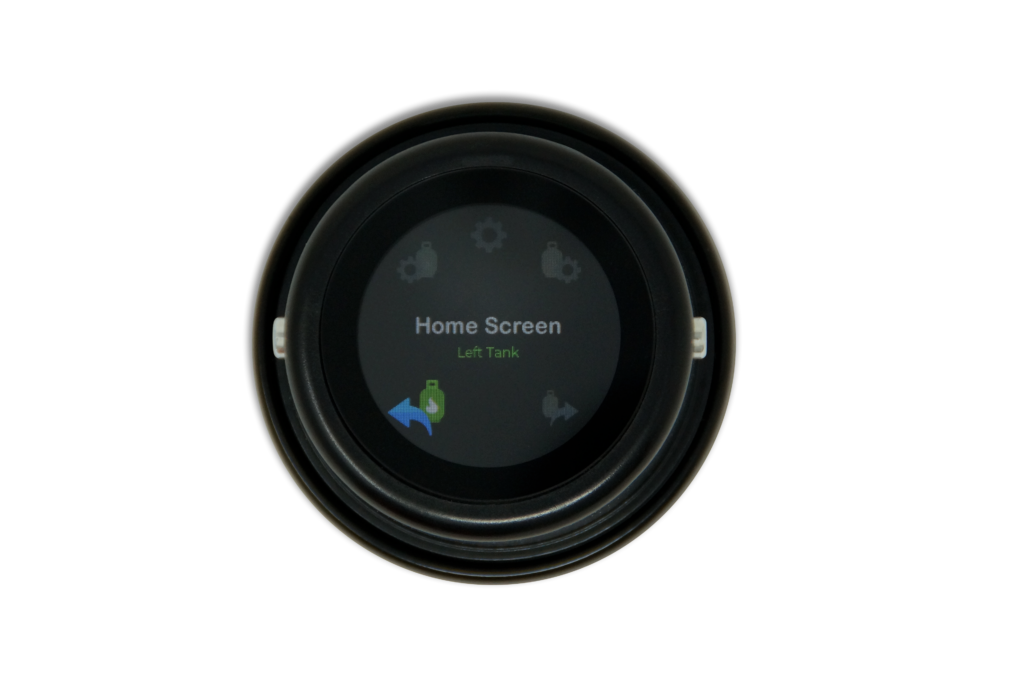
Home screen
There are 3 symbols in the top row:
Sensor Settings „Left tank“ – Sensor settings left tank
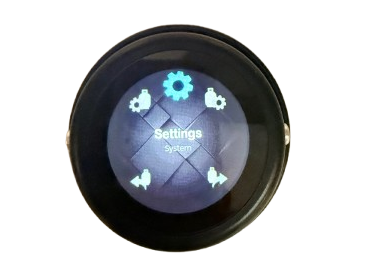
Settings System – general settings
Sensor Settings „Right tank“ – Sensor settings right tank
Sensor settings „Tank“
The sensor settings contain the following items: Sync Sensor – synchronize sensor, Commodity – content, Tank Style – tank alignment, Tank Height – tank height, Tank Volume – tank volume and Forget Sensor – delete sensor.
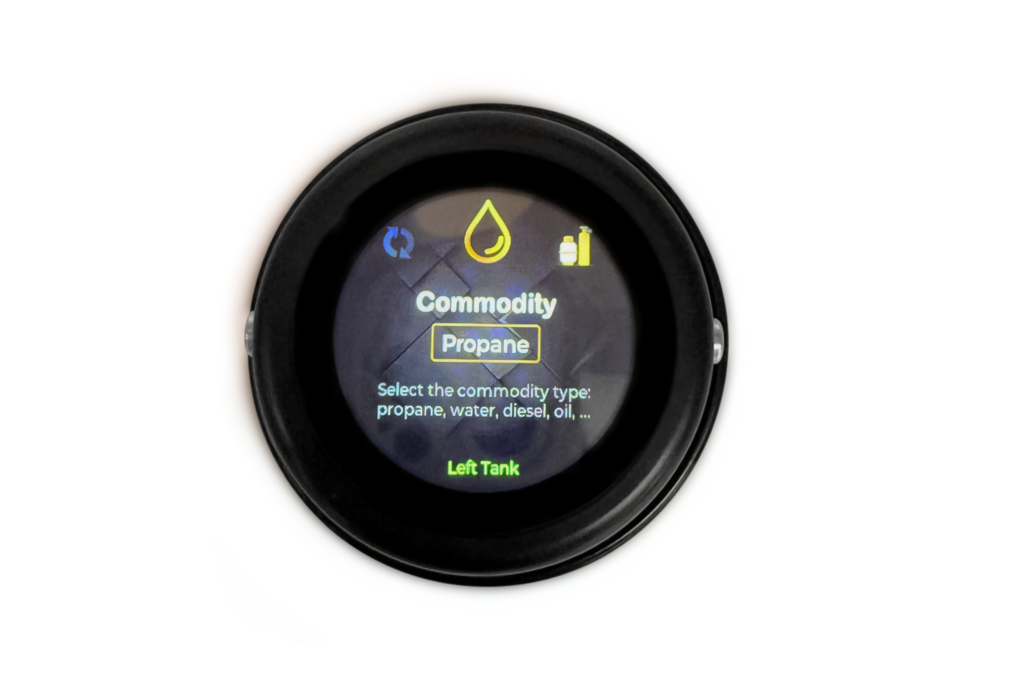
Tank content
Available for selection: Propane, water, diesel, gas, heating oil, other
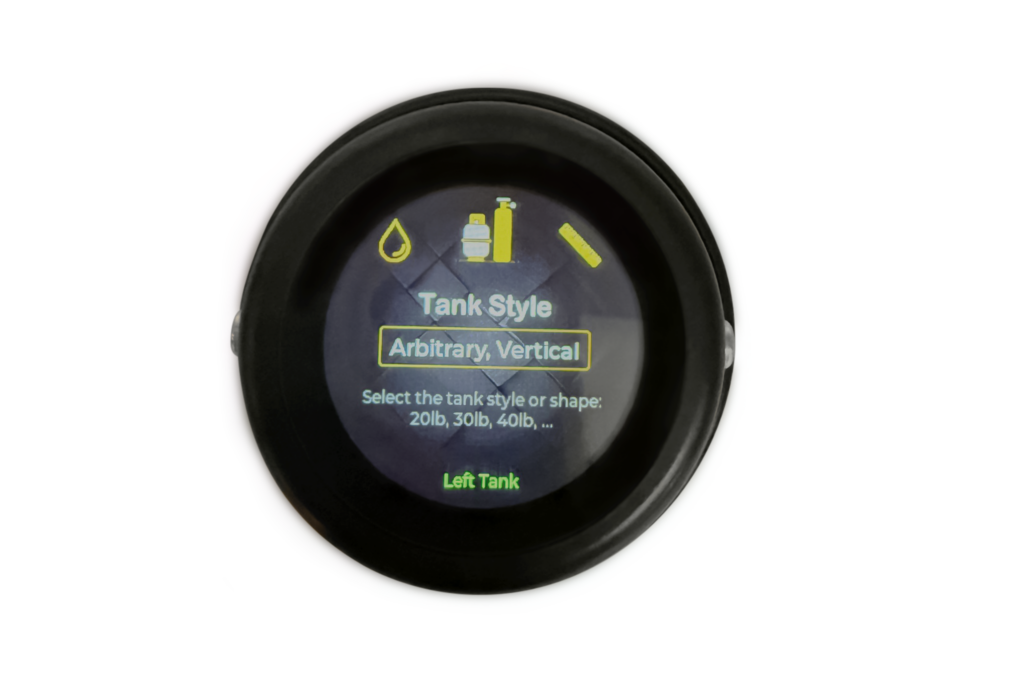
Tank alignment
Various tank orientation options can be selected: Vertical, Horizontal
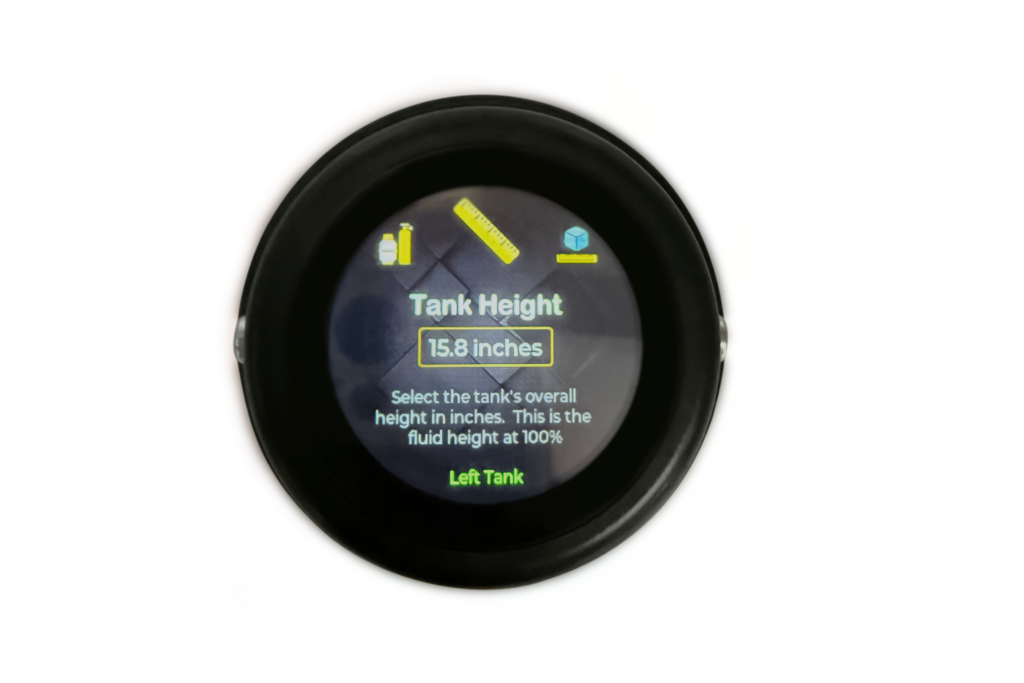
Tank height
The tank height in inches.
Tank volume
The volume of the tank can be entered here
The silver buttons are again used to navigate the tank height and volume. This allows the figures to be changed. To confirm, press both buttons simultaneously for about 2 seconds.
The formula for converting the tank height is
1 cm = 0.393701
1 inch = 2.54 cm
Here you will find a table for the height of CAMPKO and Alugas refillable gas bottles.
System settings
The brightness and automatic switch-off of the display can be set in the system settings. You will also find information about the system here.
Brightness – Brightness
Screen timeout – Automatic switch-off of the display
System Info – System information

Automatic switch-off
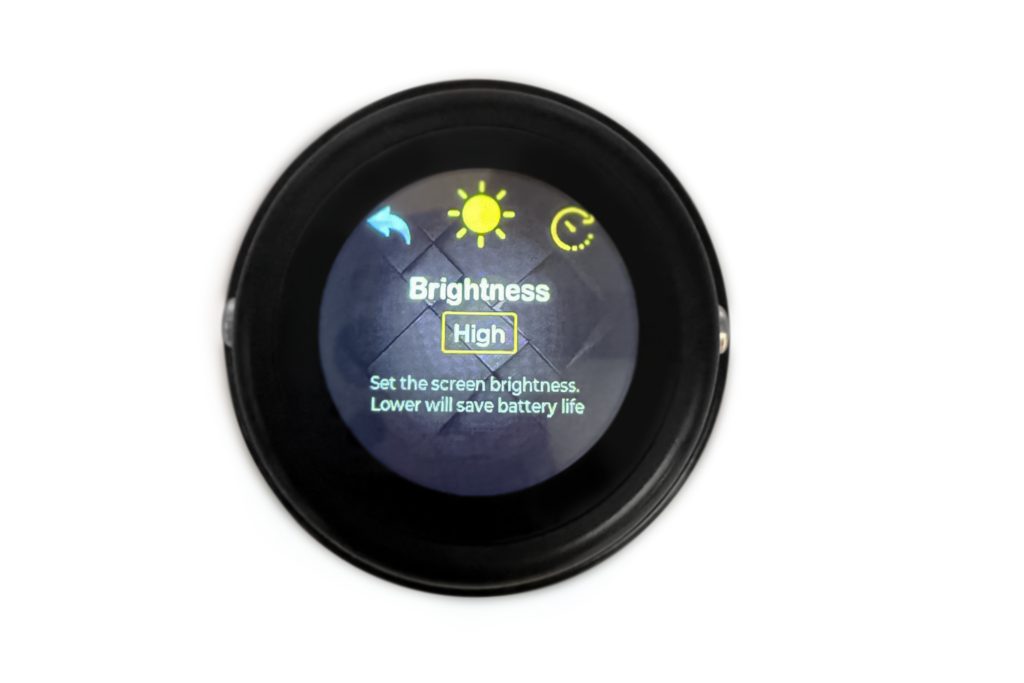
Brightness